How to Go Back to Default Ui Project 1999
How to Change Node.js Version Between Projects Using NVM
Manage multiple projects with different versions of Node on your machine
![]()
Node v14.0.0 is out and this time I want to show I managed to change Node to different versions. Changing the Node.js version between projects using NVM really help me to handle and switch between multiple project versions. It really increases the power of the Node.js ecosystem. This is essential for me because some of my projects run in different versions.
Many of my projects have been based on t he Node.js ecosystem — Gulp.js, Express.js, and other libraries like React.js developed in the Next.js framework. For quite some time they updated and released new versions and several of them required upgrading the Node.js version. So, this article is about how to update the Node versions between projects.
Unless you already use Docker container projects, you'll be fine with your Node version. But that's another different topic from this one that probably I'll probably share it with you too in the future. This is my story about how I am using NVM on top of all my Node.js projects in my macOS machine.
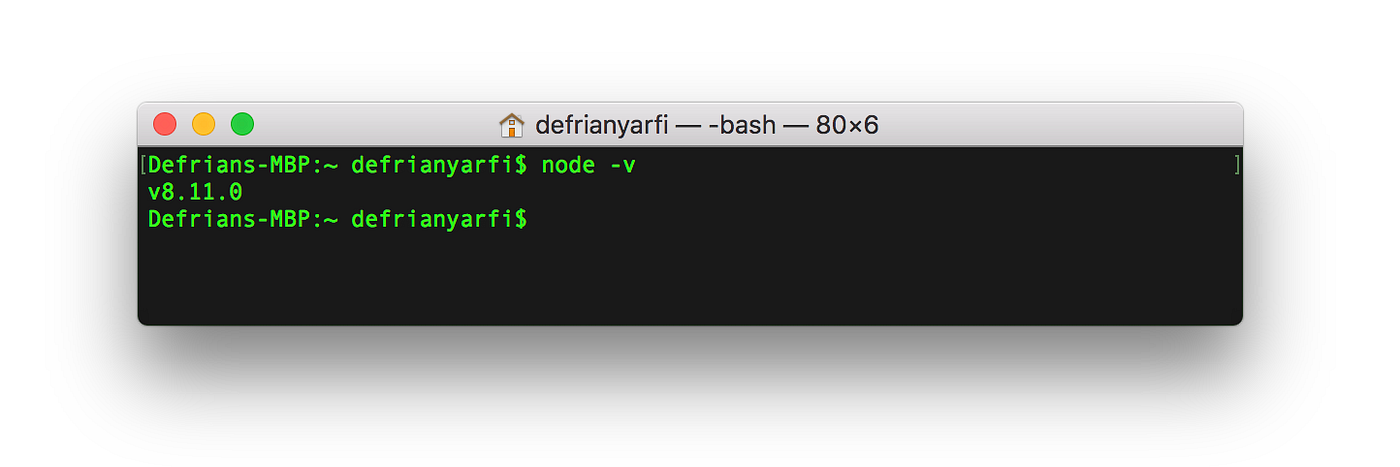
Note : If you already have a previous Node.js in your machine, that version will still available for you to use as the default version on your machine, in case you decide to use and install NVM.
Installing NVM
- Get NVM/Node Version Manager using brew:
brew install nvmin your MacOS terminal console. - Get NVM / Node Version Manager using
curl:
curl -o- https://raw.githubusercontent.com/nvm-sh/nvm/v0.35.0/install.sh | bash Or wget:
wget -qO- https://raw.githubusercontent.com/nvm-sh/nvm/v0.35.0/install.sh | bash Set Up NVM
- Close and reopen terminal and type
source ~/.bash_profileorsource ~/.profileto make sure NVM included in your profile. - Then type
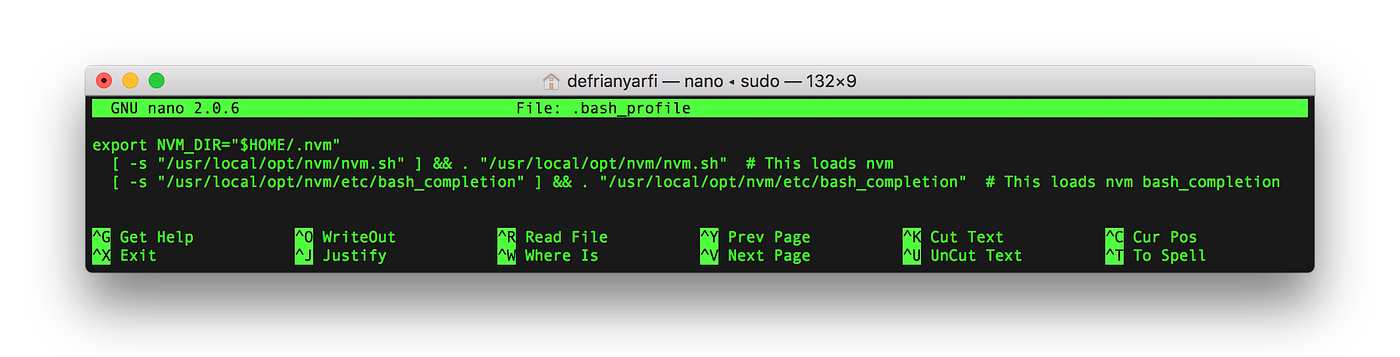
export NVM_DIR=~/.nvmandsource $(brew --prefix nvm)/nvm.shfor setting up NVM directory and shell script. - Here's the
.bash_profilethat's already set up for installing NVM in the system:
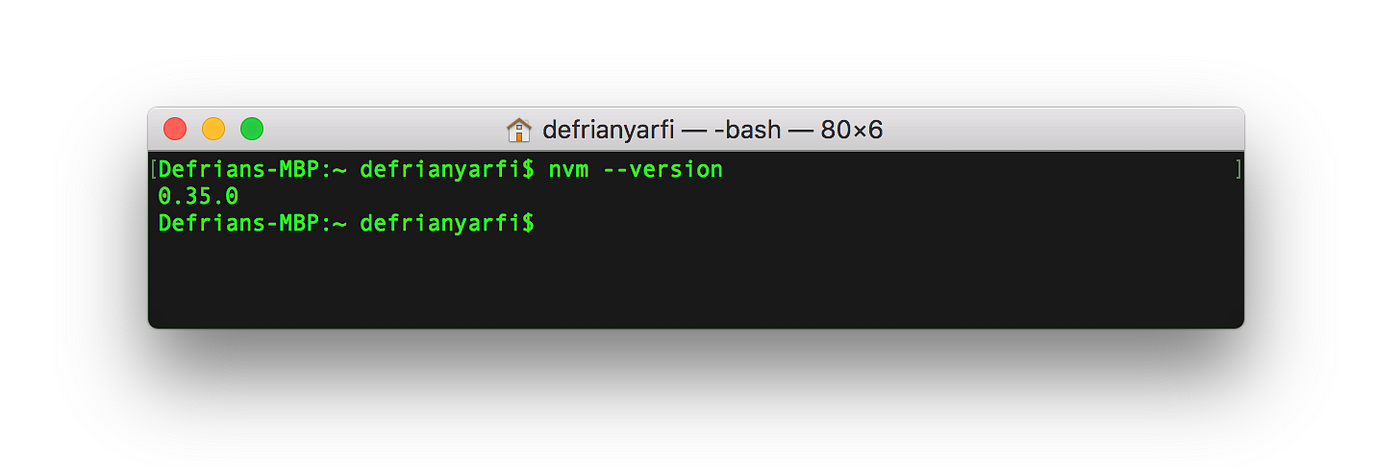
- Restart terminal and verify that NVM was properly installed by typing
nvm --versionin the terminal:
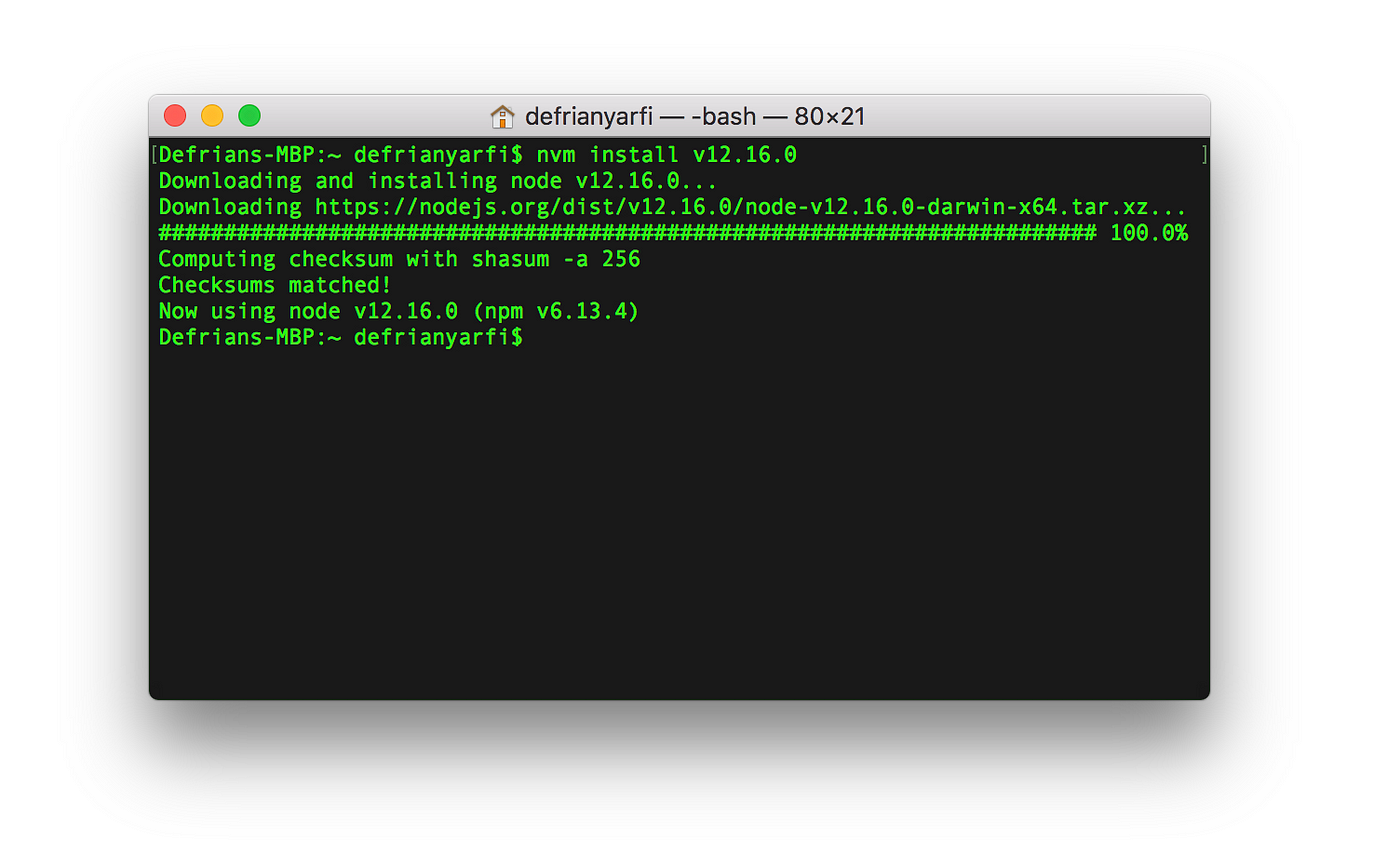
- Install multiple Node version from 8 or 12 using the command
nvm install v8.11.0ornvm install v12.6.0in the terminal:
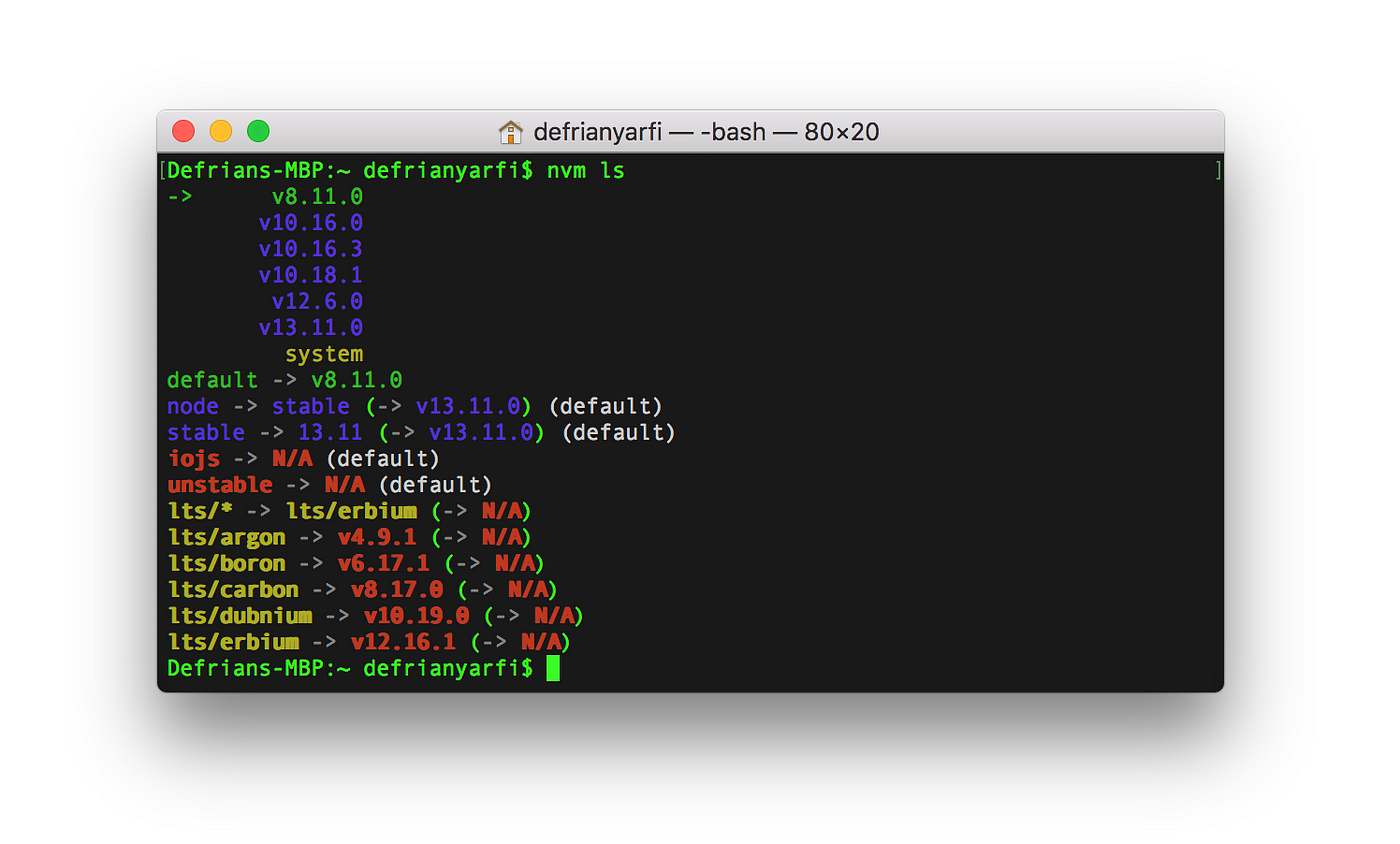
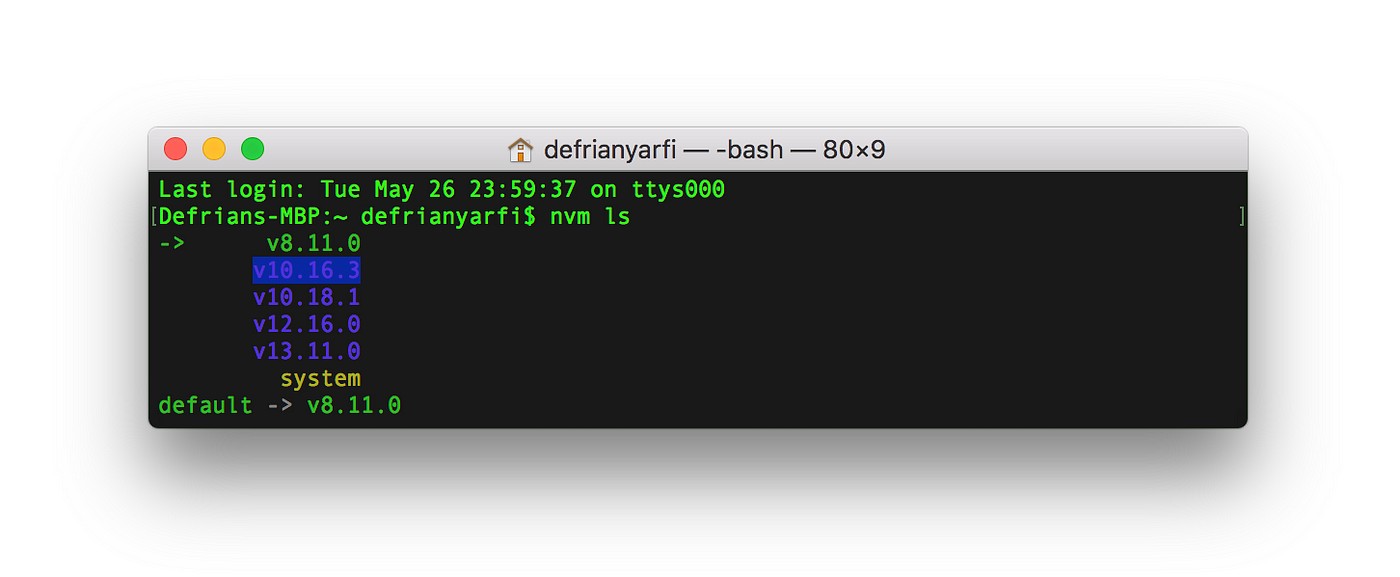
- List installed versions using the command
nvm listornvm ls, the arrow indicates the current Node.js version:
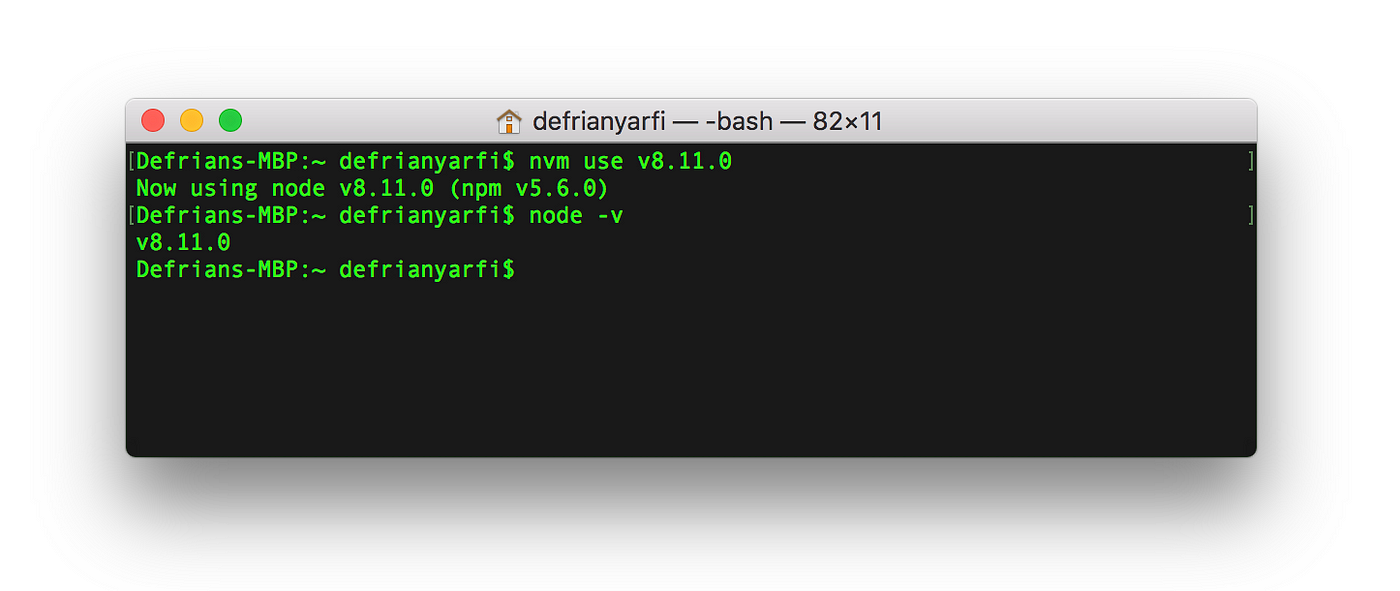
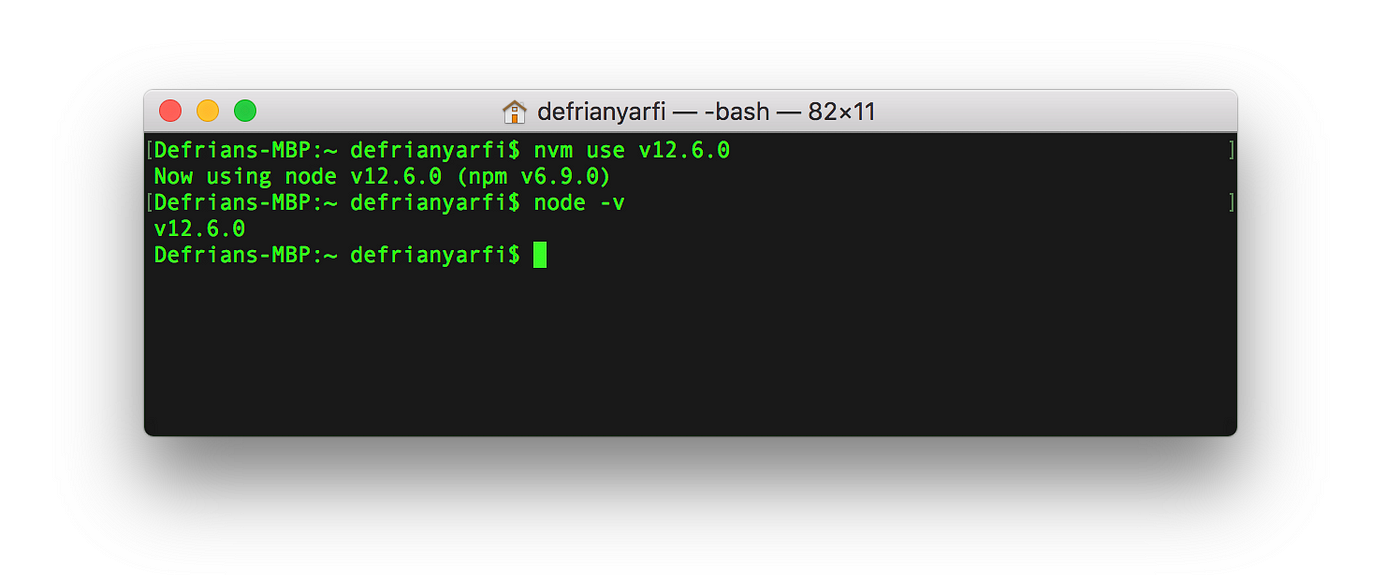
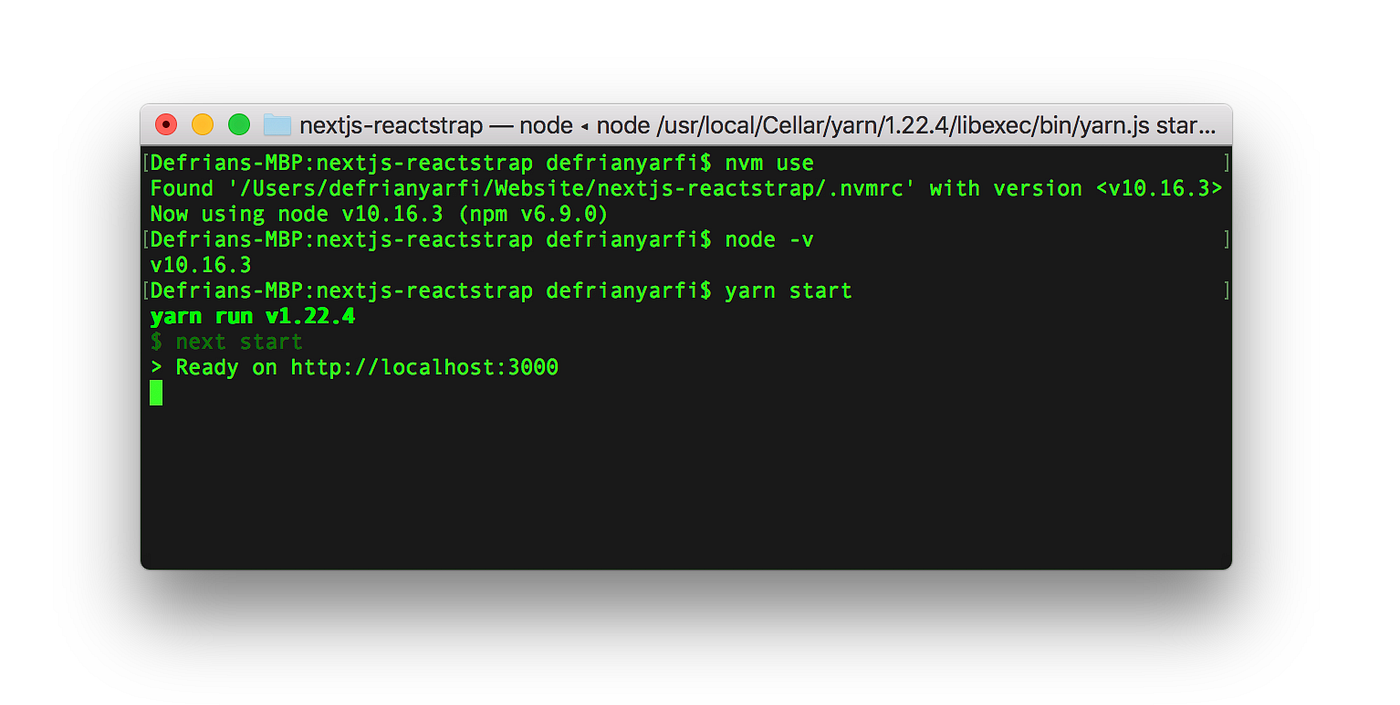
- Using or switching node versions using NVM
nvm use v8.11.0ornvm use v12.16.0and verifying the current nodenode -vis done the same way whatever your choice is:
Note : nvm use command is only available on each terminal when you open up in your project. If you close all terminals and open a terminal again, the default version will always take charge. To overcome this, but without losing the older version, you could just set up an .nvmrc file, or you could set up a node default alias to change the current default version available to any shell terminal you open.
Project Setup for NVM in the .nvmrc File
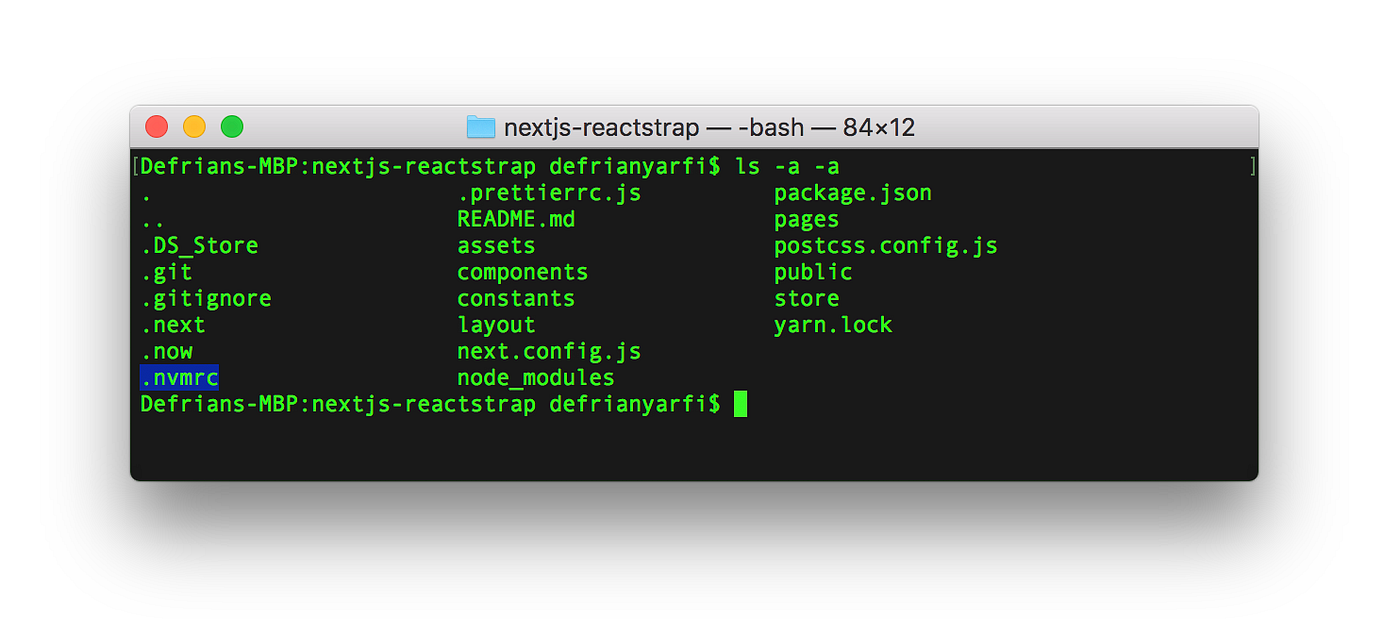
NVM provides a simple shortcut helper that enables each of your projects to recognise which version of your Node.js is in usg, using a file name .nvmrc to put it in your project root directory.
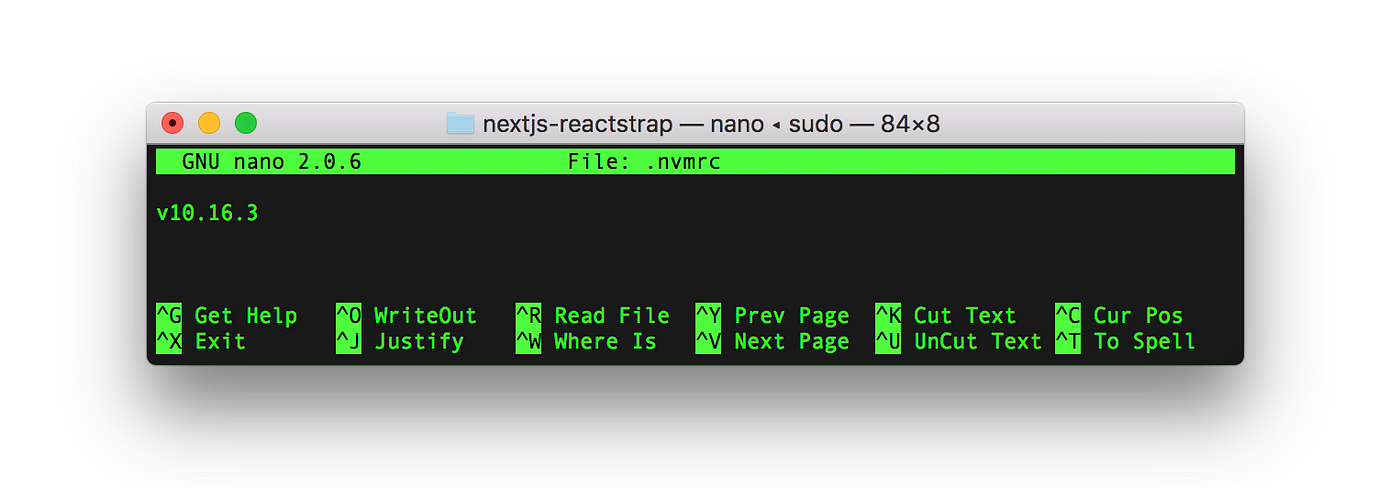
- Open up your editor in project directory, create and save a file named
.nvmrcin the root directory. Type your default or desired Node.js version, such asv10.13.0orv8.0.6, to continue.
- Now, that you already have a
.nvmrcin your root directory that defines the default Node.js version for your project, you could just typenvm useto tell nvm to switch the version to use before you start developing.
- You could add a
.nvmrcin all of your Node.js root directory and write down the default version used in that project. Switch the Node.js version by typingnvm usein the terminal.
Set Node.js Default Aliases in NVM to available in Any Open Shell
After you install the necessary Node.js versions using NVM, you can now create a default alias for the version installed. The NVM alias will work only after you installed Node.js with NVM.
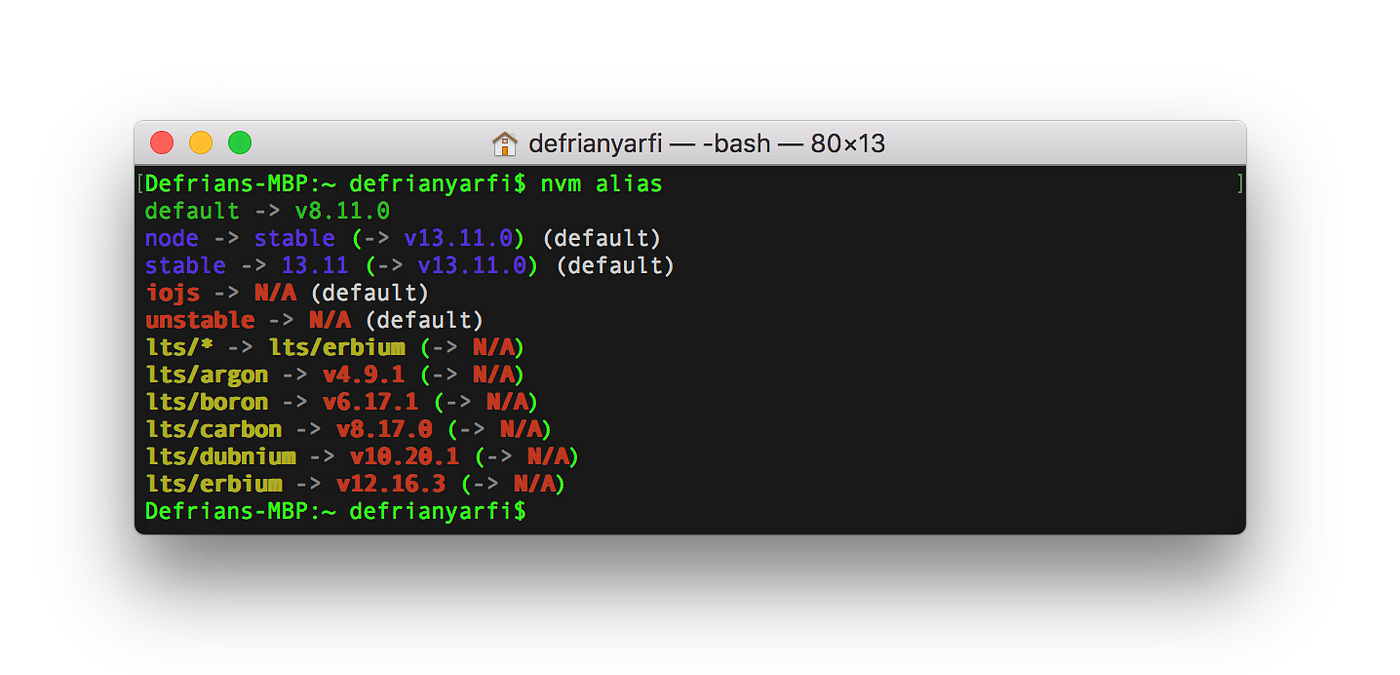
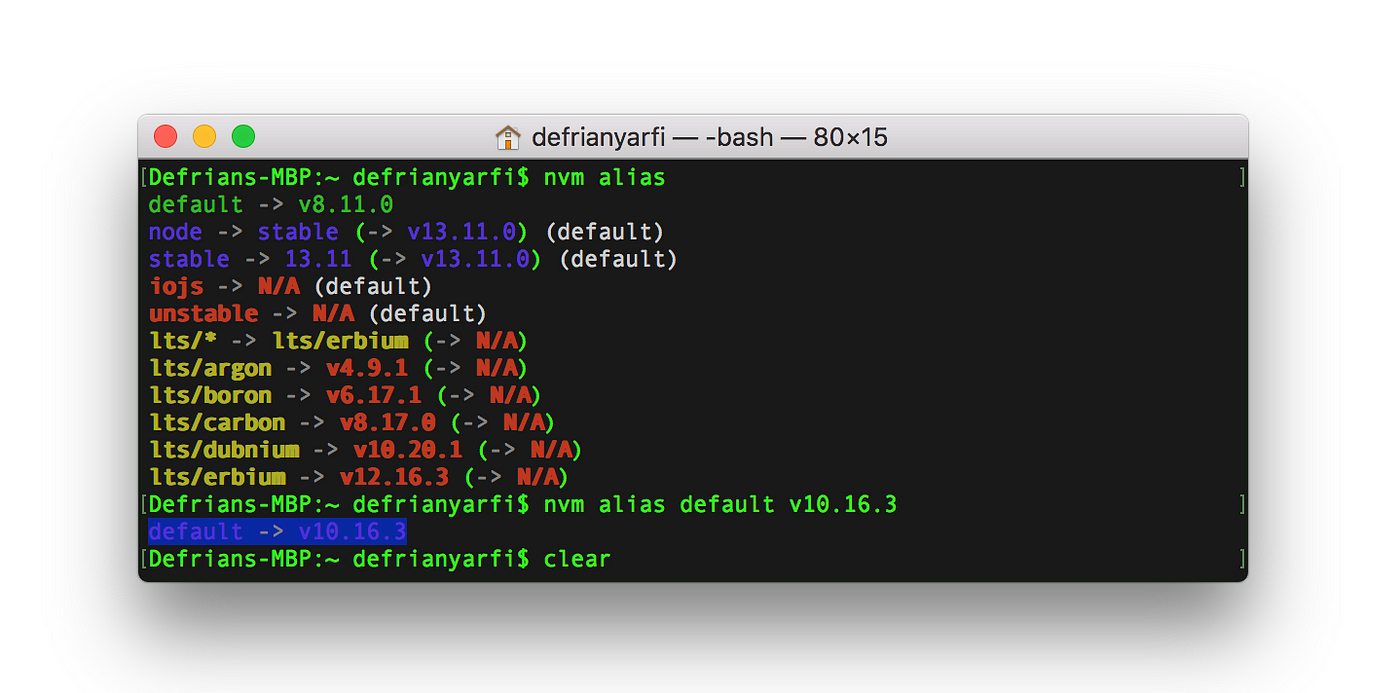
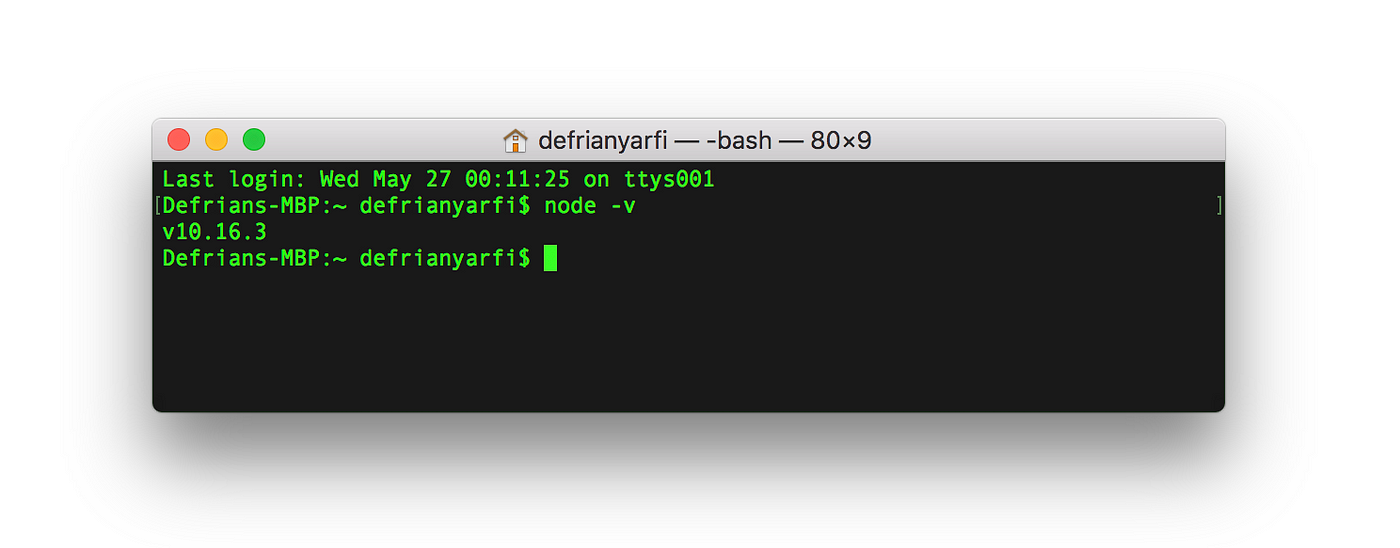
Let's say you want to use Node.js v10.16.3 as your default version. Just type nvm alias default v10.16.3 in your terminal and then type nvm use default. This command will makev10.16.3 available in any shell you open — you just have to restart your terminal to make sure it works. You can switch back to any other default version using that command again and it will immediately available in any open shell.
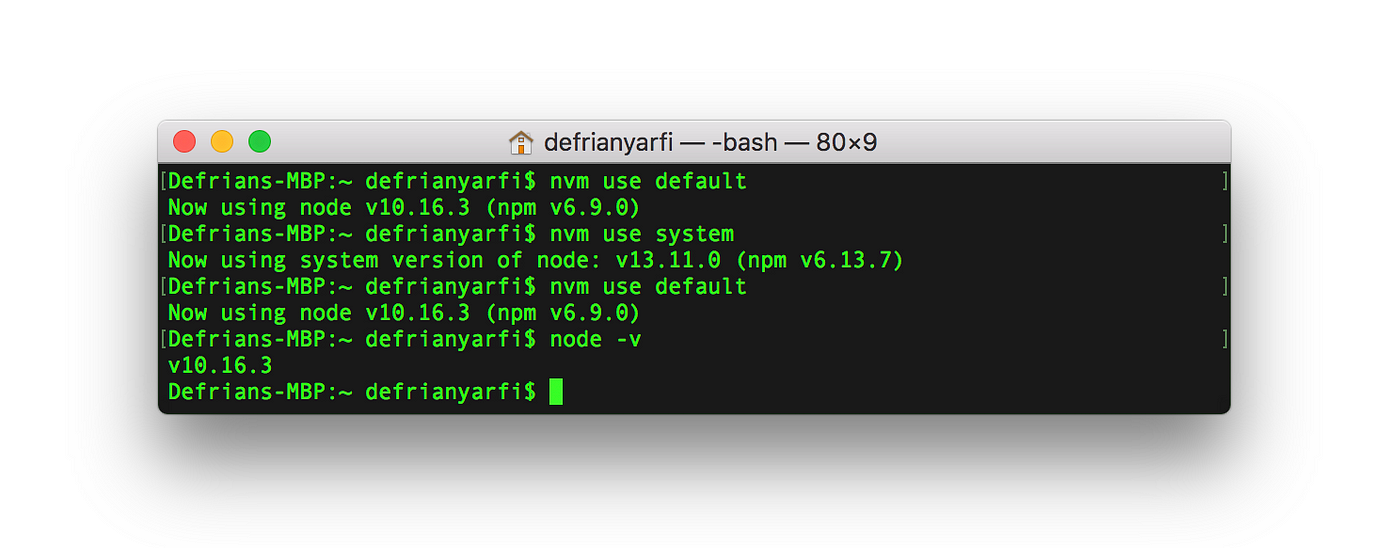
Already created aliases will be available in the terminal using the command nvm use default. Switching other aliases available in examples; just type nvm use stable or nvm use node or nvm use system for selecting the system's default version that NVM already installed.
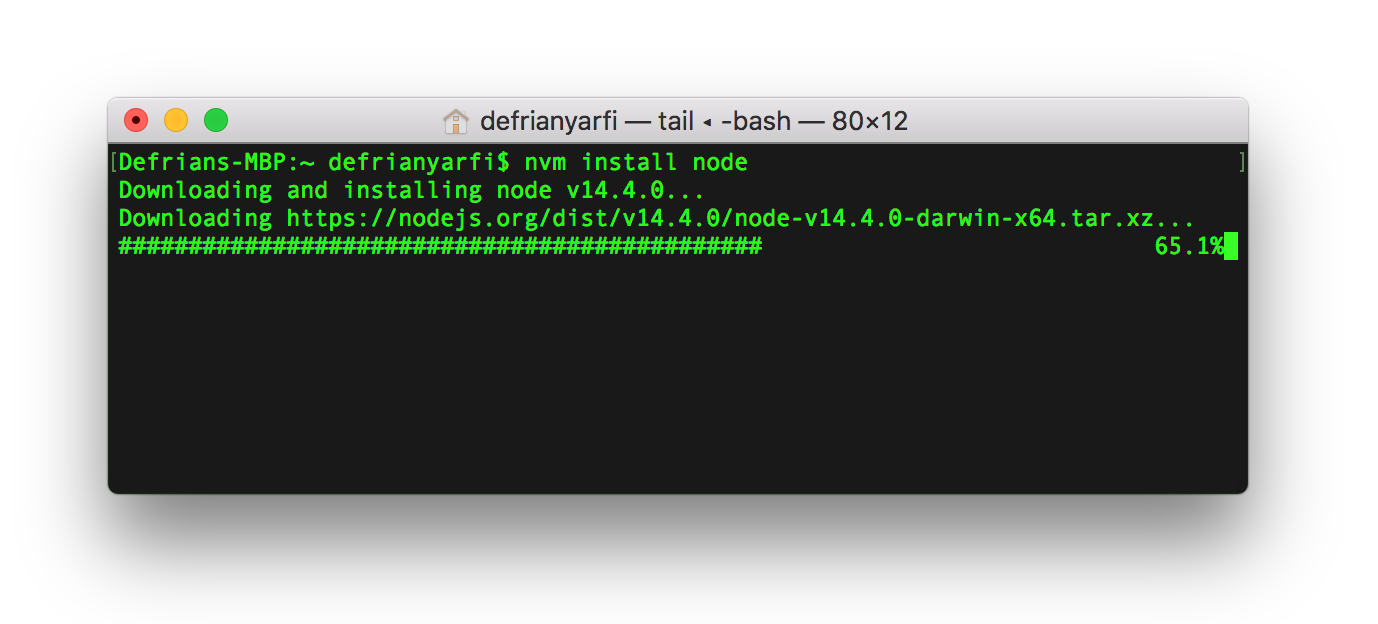
Install Node v14.0.0 using NVM
Type nvm install node in the terminal, this will install the latest version of Node. Alternatively, just type the version nvm install v14.4.0 in the terminal.
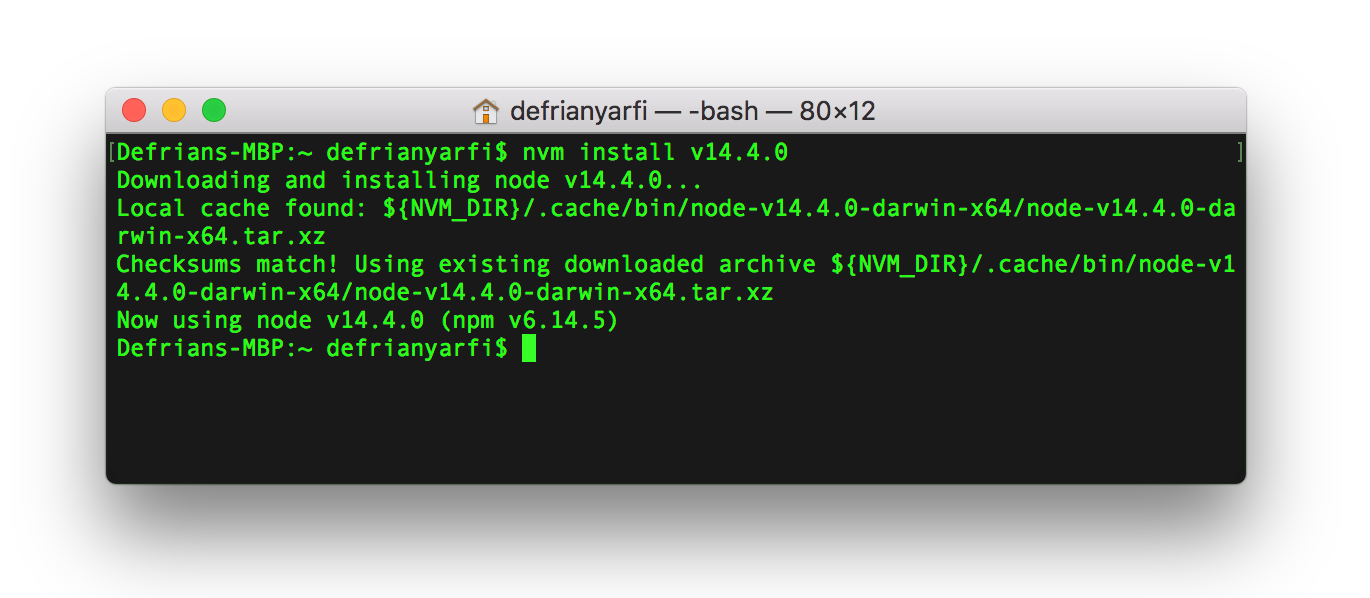
Note: If you install v14.0.0 or another version and quit all terminals, that version will not be available as the default of your node. Remember, we already set a global node version in v10.16.3 . You need to set v14.0.0 as the default Node version to your machine and execute nvm use default .
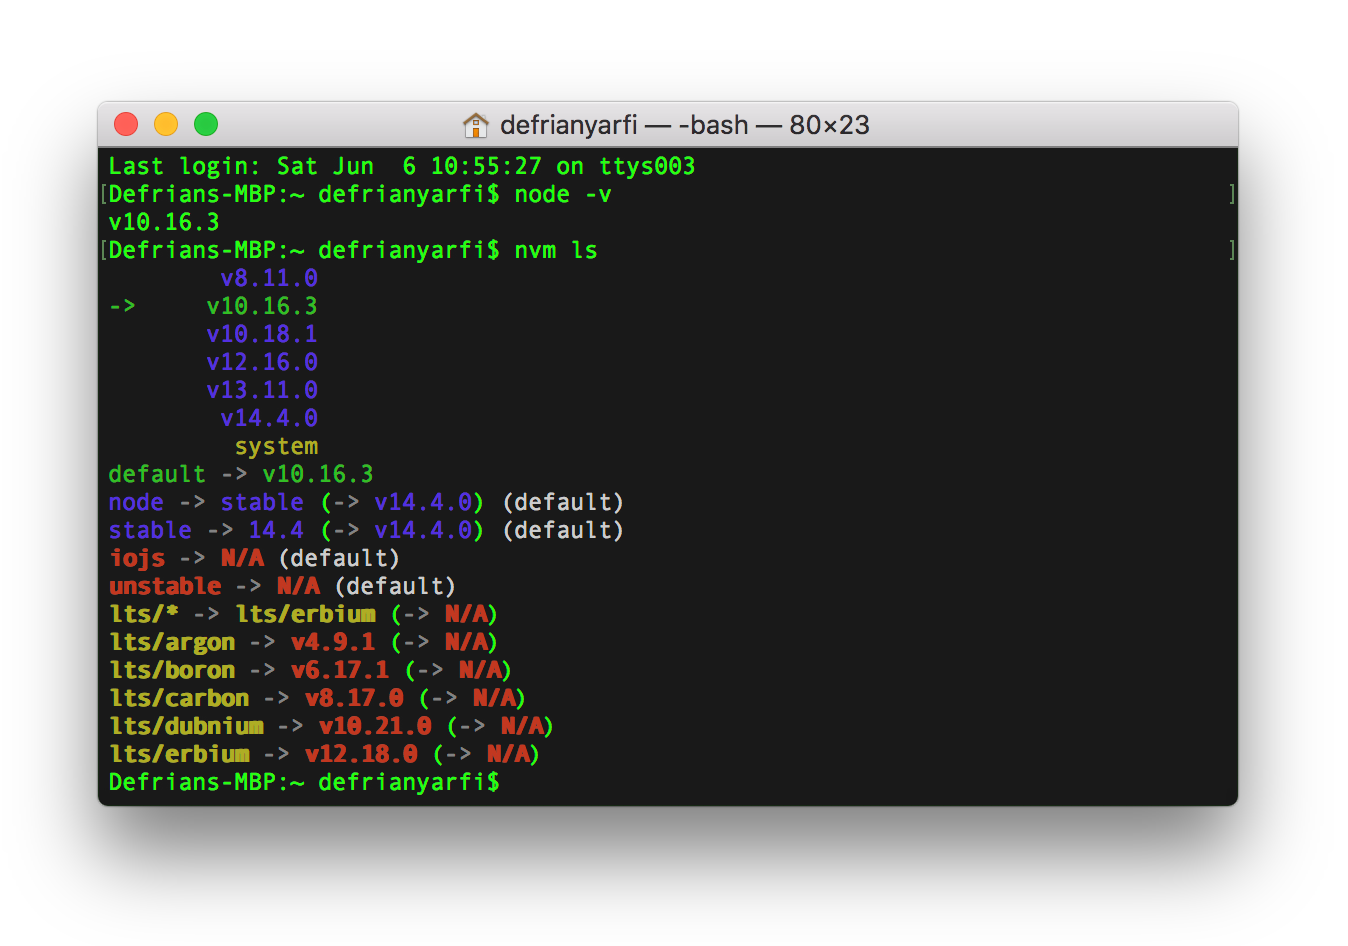
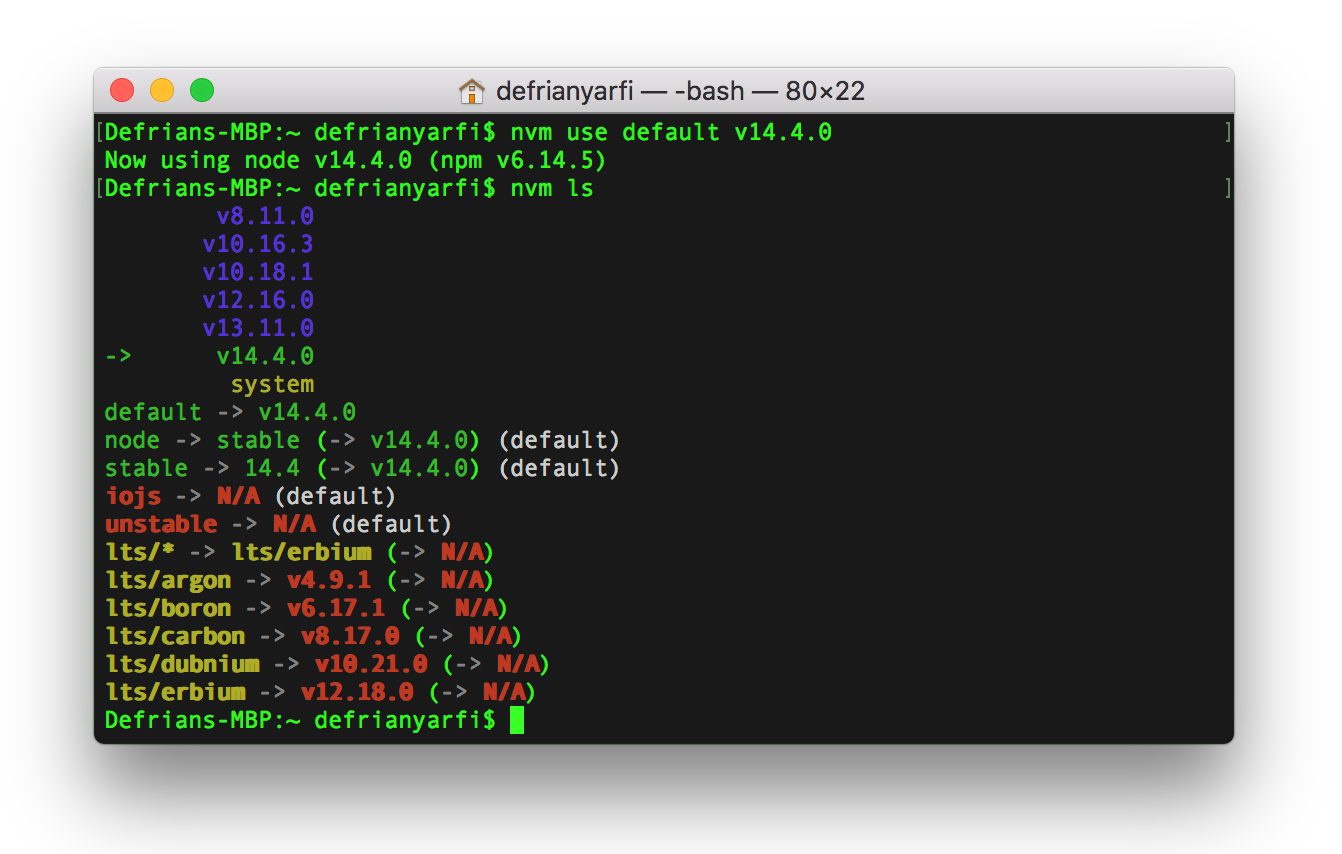
Set Node v14.0.0 as the Default Version
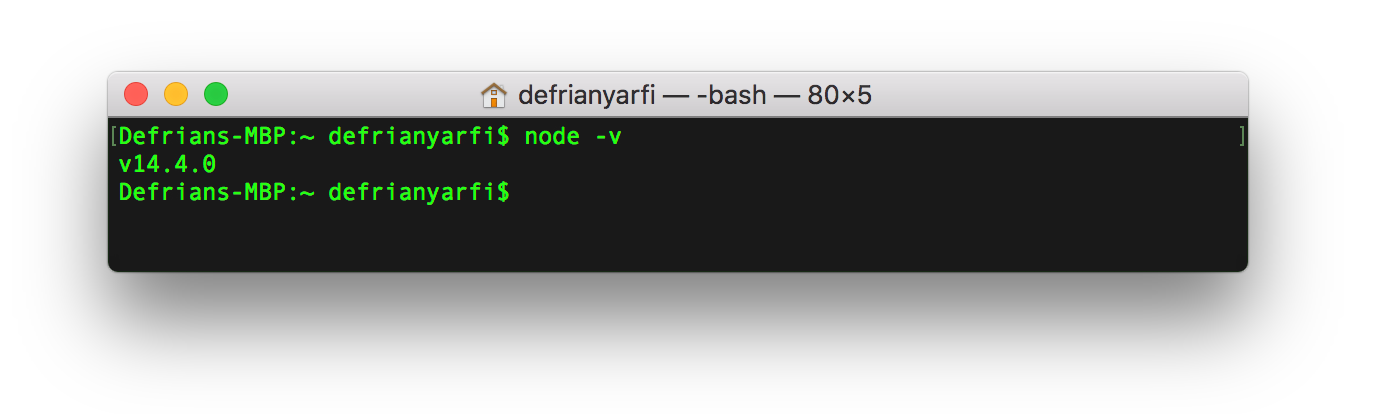
Quit all terminals, list all versions, and check the default version. The default Node version was still in v10.16.3 (*Notice the arrow indicates the Node current default) version that we previously set. Also, notice that v14.0.01 was already installed and listed in the version list. To change the default version to v14.0.0, type nvm use default v14.0.0 and nvm use default then restart all terminal instances. Finally, check the version node -v that was already set up to v14.0.0 for use at any time.
Closing
Thanks for reading. I hope this can help you to switch between Node.js versions for your web development projects. NVM has really helped me through this kind of situation. Now that I've already moved on to Docker containers, NVM will always be the tool that I can count on.
Have a good day!
References
How to Go Back to Default Ui Project 1999
Source: https://betterprogramming.pub/how-to-change-node-js-version-between-projects-using-nvm-3ad2416bda7e
0 Response to "How to Go Back to Default Ui Project 1999"
إرسال تعليق